The Sword of Tristan
Tutorial
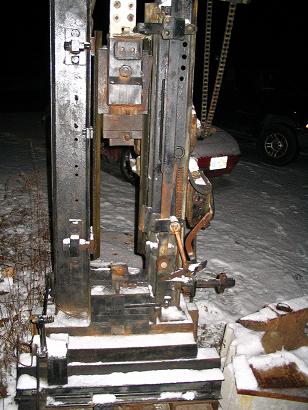
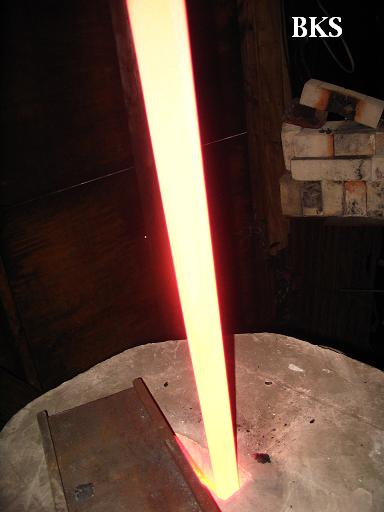
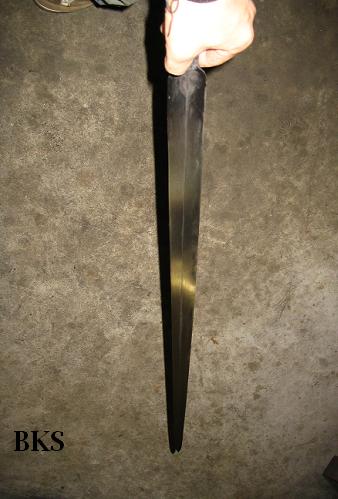
Lunar Eclipse!!! Seems a perfect time for some outside power hammer work.
We Started from a 1070 rail road spring clip
The forge came up to temperature just as the moon turned a dull red and the hammer began to sing its song.

As the moon slowly regained its color fatigue began to set in and the steel was allowed to cool to a dull red in its place.

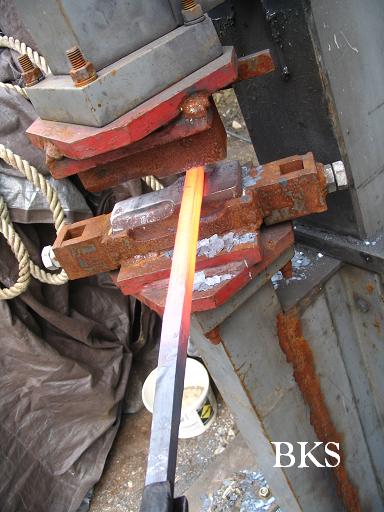
Well. This is my first real break of the day. It's taken me about 4 hours to take the rough wrought bolt down to a workable bar. I have never forged wrought before. You have to keep it just under welding temp and make sure you don't fall too much under. I had to take my sweet time with this bar to make sure it didn't split. At first I was being a bit aggressive with the air hammer and the very end started to "un peel". I cut that end off and started working at a much slower pace making sure that I kept my color at a bright yellow.
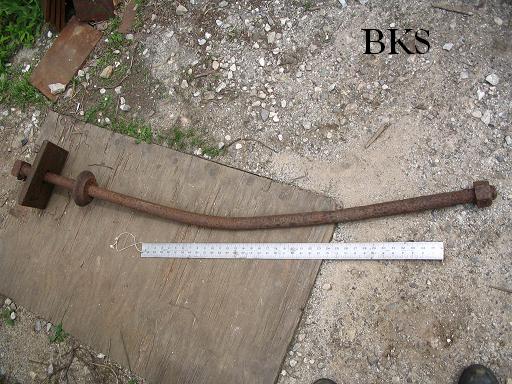
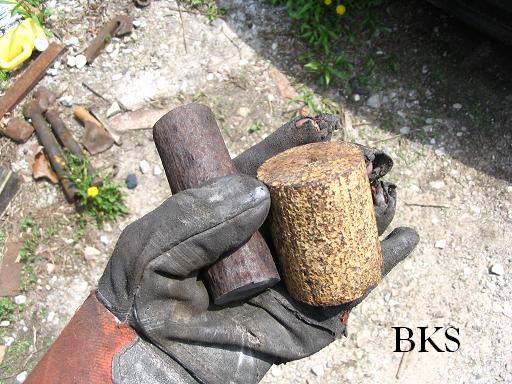
Here is the wrought Iron Bolt that I am starting from for the guard piece.
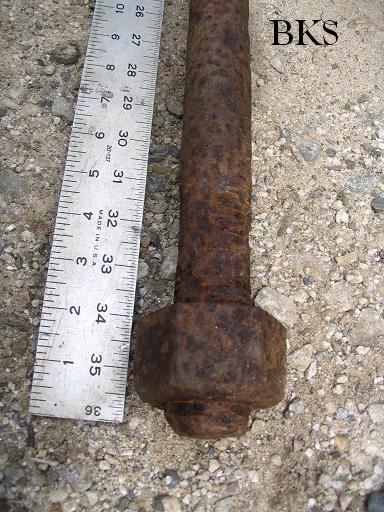
another shot of the bolt before.
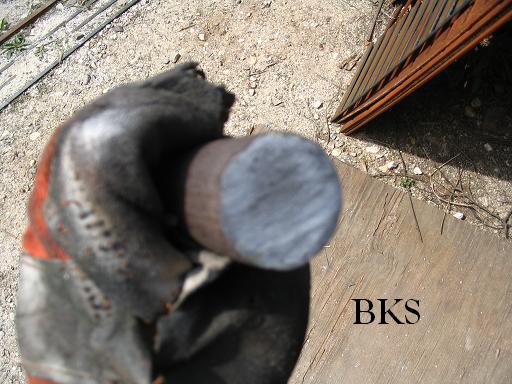
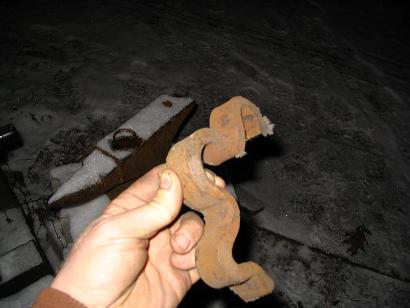
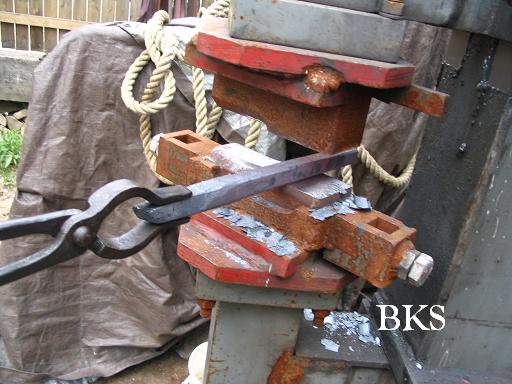
Here it is after I cut a chunk off and put a quickly etch on it to see the pattern...ad picture but it was an awesome site.
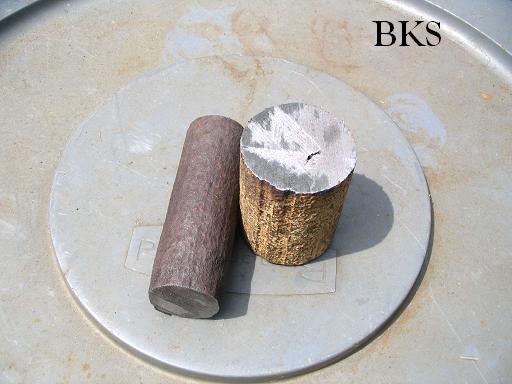
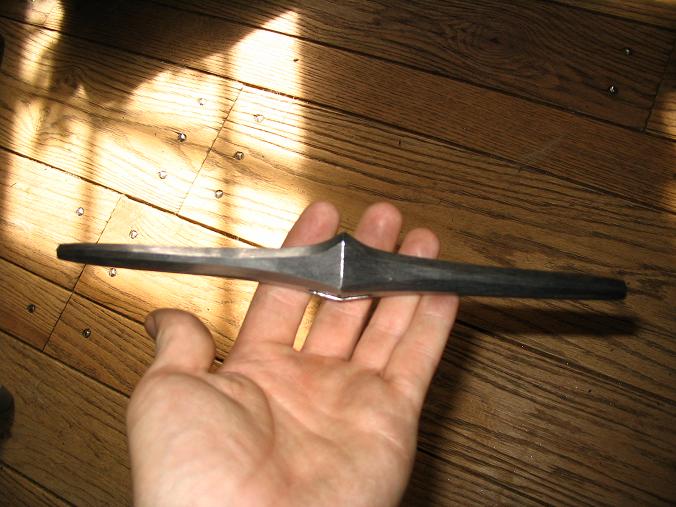
Here is the guard and the pommel slices side by side.

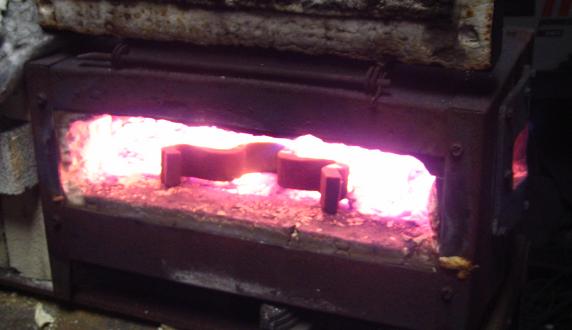
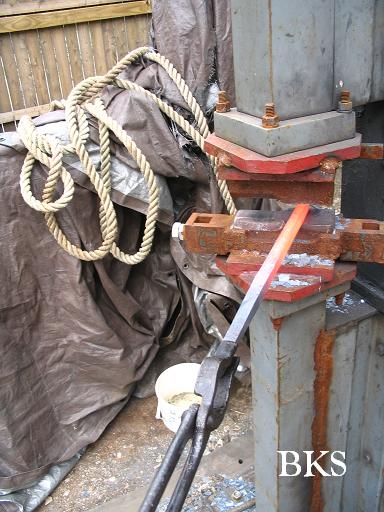
First HEAT !!!!
One hour later...You can see that I am starting to get it worked into a solid bar. Also you can see the layers on the end grain shot.
I decided that I wanted to make sure that I had enough material out of this first bar to make two guards so that I could pick the best of the two for the Tristan sword.
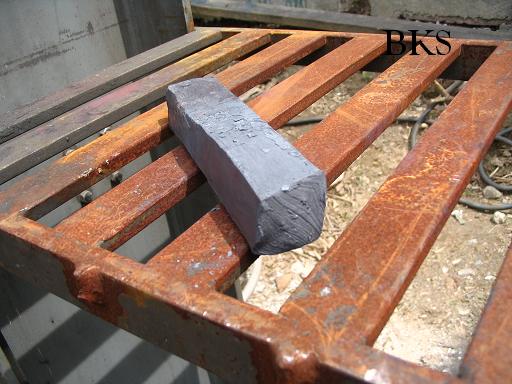
As you can see I got about a 19" bar
I think the pattern on this bar is beautiful. Can't wait to get back outside and cut the bar in half and start shaping it.
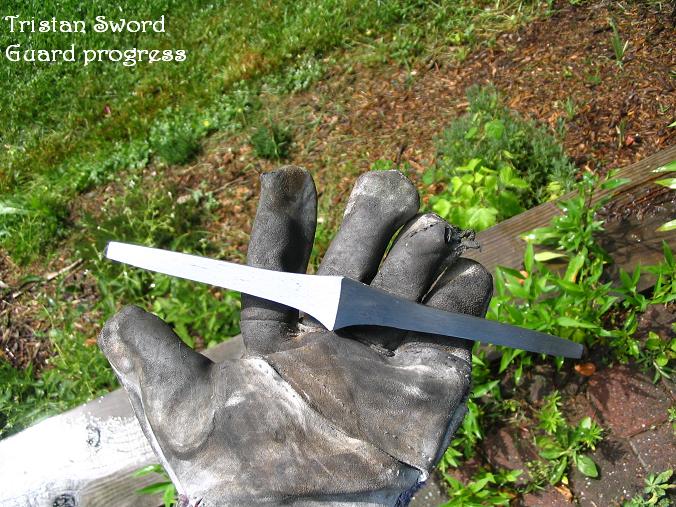
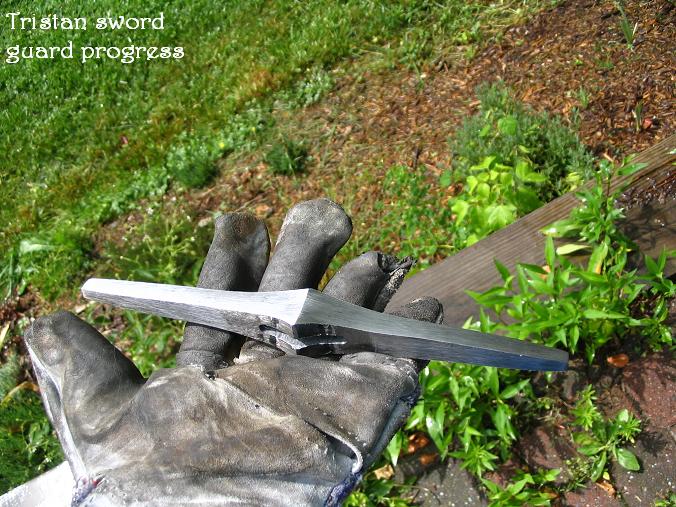
Back to the blade
Here you can see the pieces all laid out.
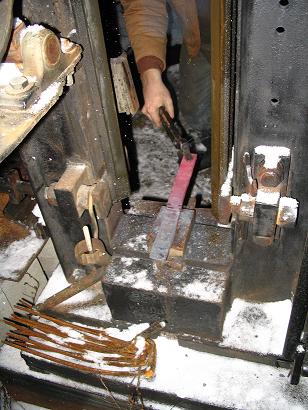
Kerry Forging the bevels by hand.
We forged the bevels to gain as much width as we could.
We also had to forge the tang out quite a bit by hand.
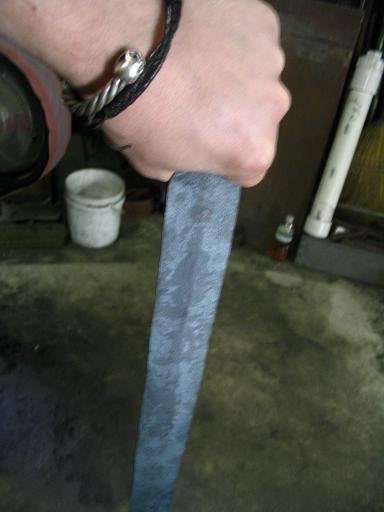
Here she is with her bevels forged in and ready for grinding.
Now for the Pommel
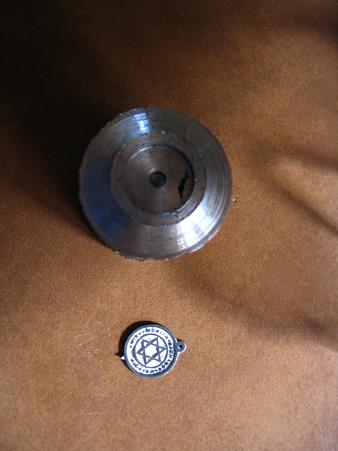
Here is the wrought iron pommel after being roughed turned on a lathe.
Also here is the silver medallion after casting.
Here you can see how it will fit. The medallion will be trimmed and set in.
Back to the guard
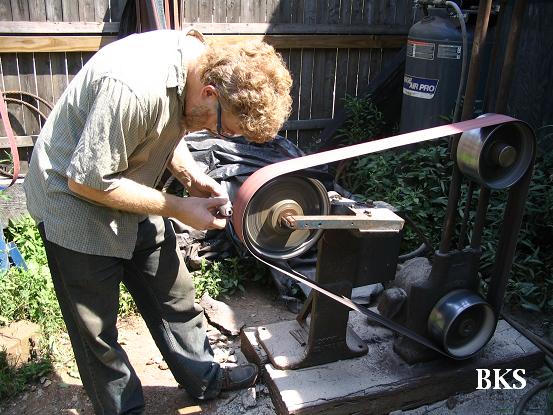
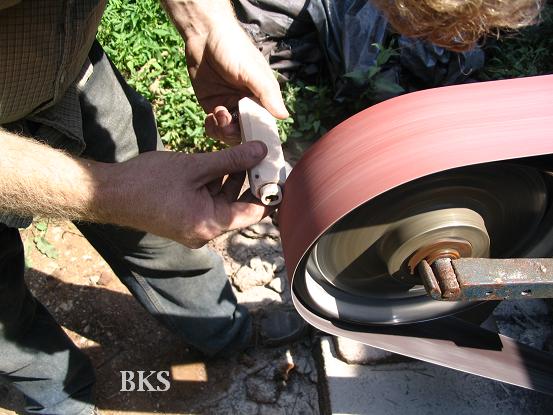
Here you can see the guard taking shape.
I did most of the shaping on the sander from the bar I made earlier.
Here she is with the slot in the guard.
It was slotted on a vertical mill.
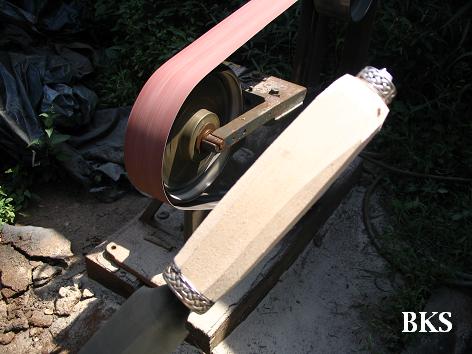
Here is the guard with the bevels ground in.

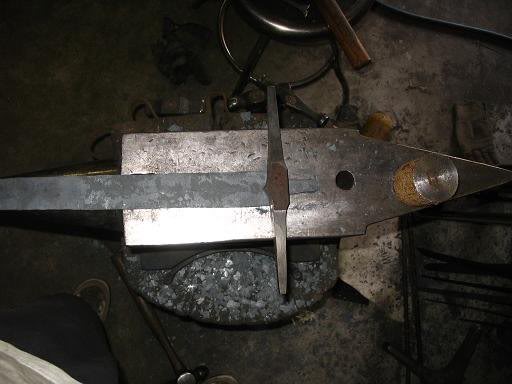
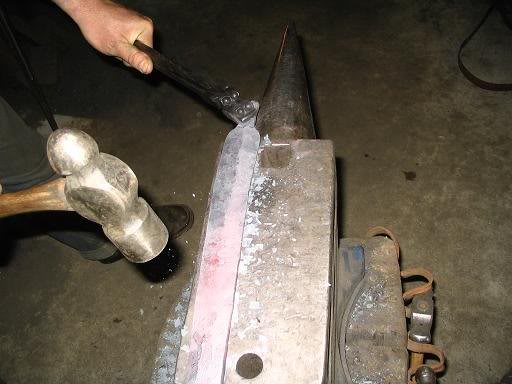
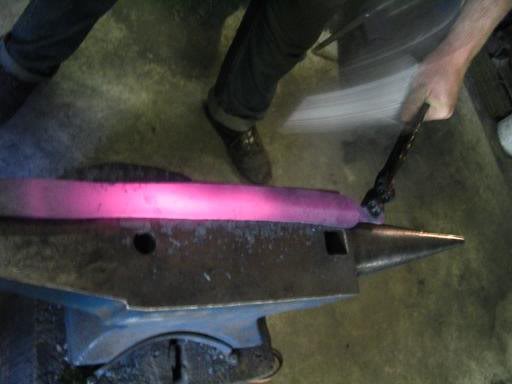
Here she is ready for the tips to be turned down.
Back to the Pommel

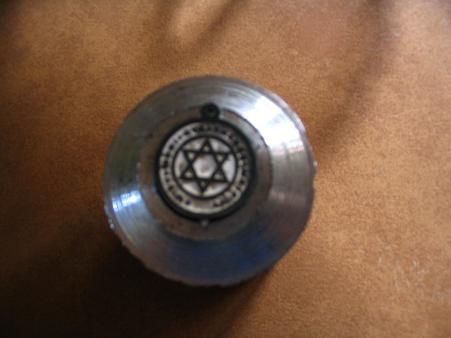
Here is the pommel polished out but not yet etched.
The silver medallion is cleaned off as well. Still a bit of work left on the pommel alone.
Ready to be etched
Now for the handle
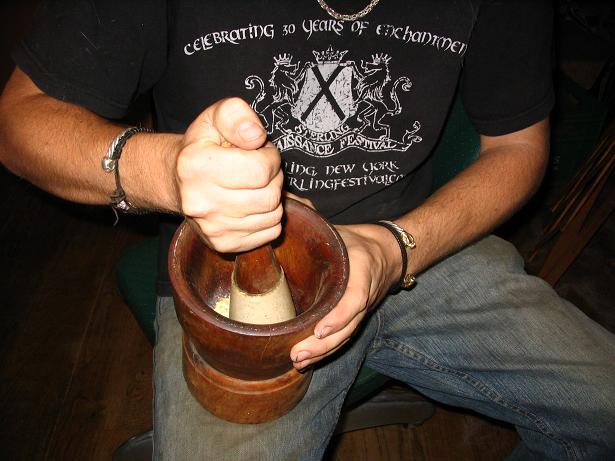
Here I am grinding the blessed frankincense up in my grandfathers mortar and pestle
from his pharmacy in 1930's.
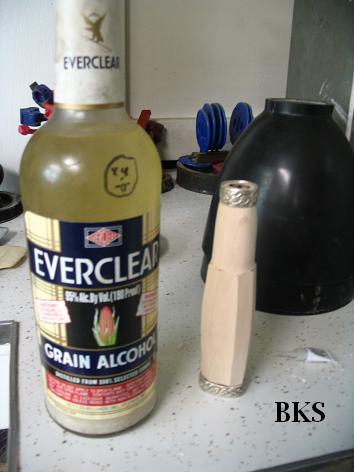
We have it mixing in the everclear as we speak.
In a bit we will put it under vacuum to stabilize the hazel.
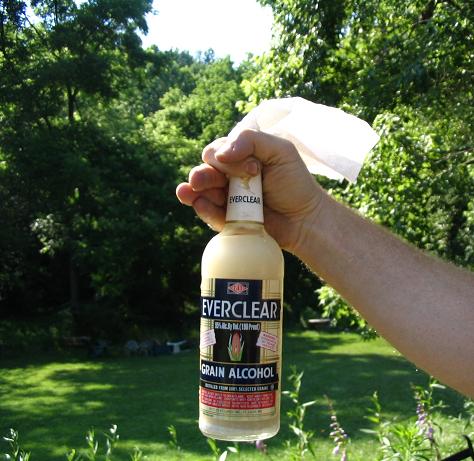
Here is the frankincense being dissolved in Everclear.
OK so Kerry and I for the last few weeks have tried to brainstorm a way to incorporate
the Honey Suckle. Several ideas like engraving the blade and or carving
the hazel handle but none worked well with the looks of the piece.
Finally we walked out the back door and looked up at our
casting shop and BAM. You will never believe what happened.
We decided to grind a few up and add the oil to the handle stabilizing mixture.
A neat tie in if you ask me. We might also dye a bit of the handle red oils. We will see.
Next time for heat treat.
We couldn't just quench the blade in our every day tank.
So we built a new one. Complete with 3 different types of
blessed oil added to the AAA fast quench oil.
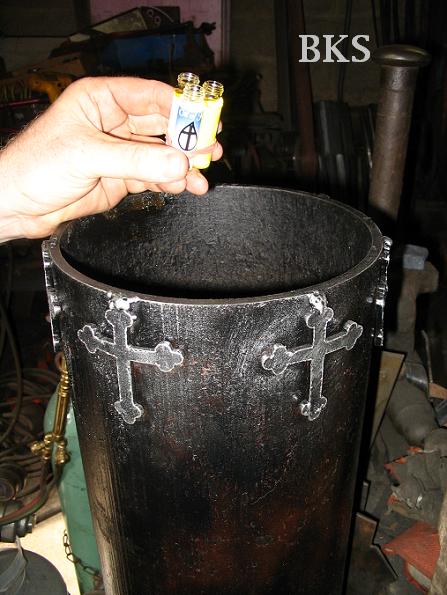
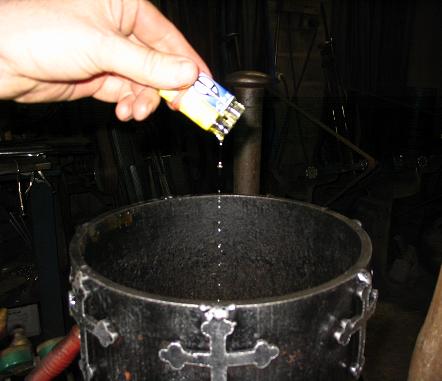
By the way there are 7 crosses around the tank and our quench oil
now smells great in the shop. The addition of some frankincense and myrrh to the
oil just put it over the top. Feels like we are walking into a tomb or something every
time we walk through the door. The 2nd Oil we used was a juice blended from the
fruit of an olive tree said to be a blessing to women from Mary the mother of Jesus.
We couldn't just add 2 of something to the mix. So we added a 3rd oil that is
just an oil of joy to make it a good biblical trio of blessed oils for the quench.
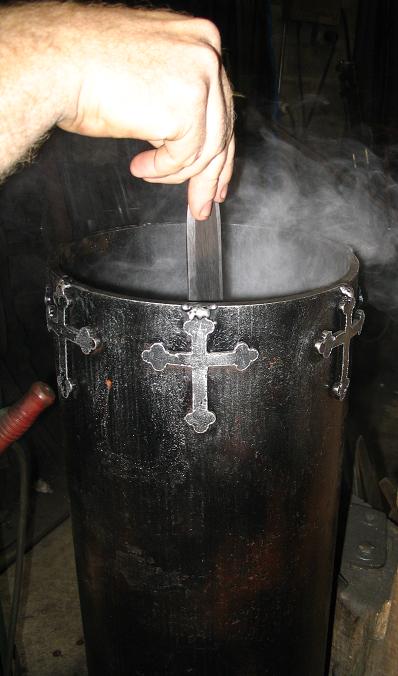
We originally were going to quench it in holy water. That idea didn't go
anywhere we just decided that it would be better to HT into oil so we don't
take a chance of cracking on this special blade. I would hate to have to wait around for the
next eclipse to forge another blade.
The holy water will come into play later...stay tuned.
The first thing would be the HT process. Kerry built an electric kiln for heat-treating.
We used a charcoal reduced atmosphere to prevent scale.
We used some left over
hardwood charcoal from our Fire and Brimstone smelt which was on Easter sunday.
The quench went into AAA fast quench with the anointing oil added.
The next few steps have a few surprises hidden in.
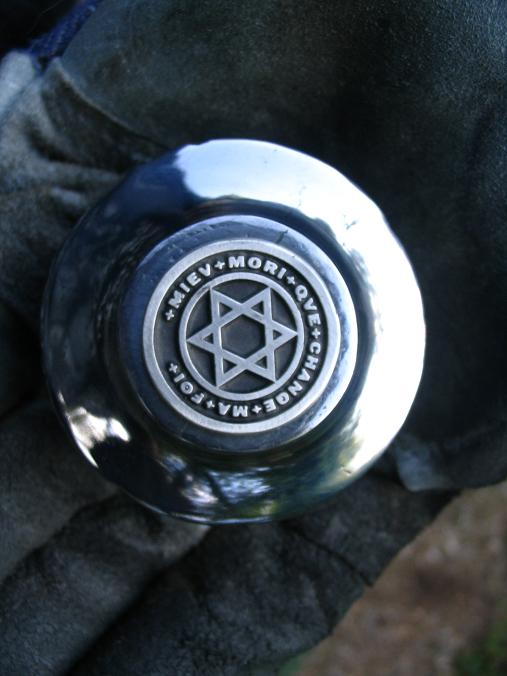
Well by now you all know that we planned on setting a silver medallion in the middle
of the wheel pommel. What you didn't know is that we are setting a garnet
in the middle of the Star of David. A gift to Mike for being a great customer.
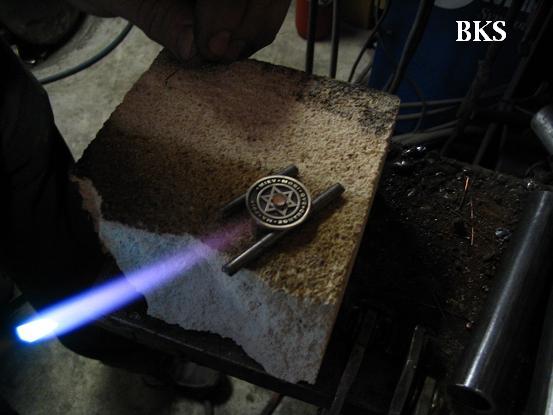
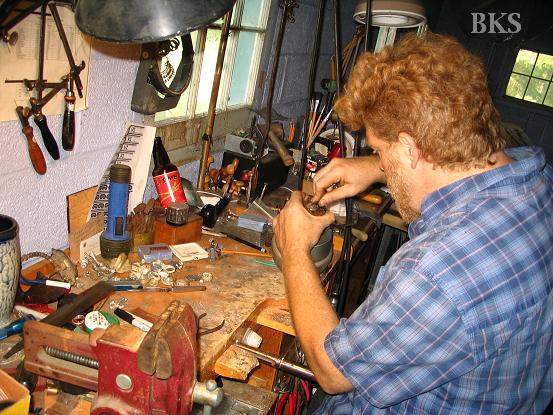
Here Kerry is soldering the setting onto the medallion.
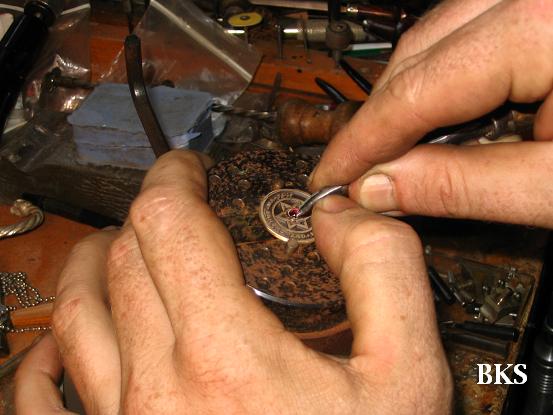
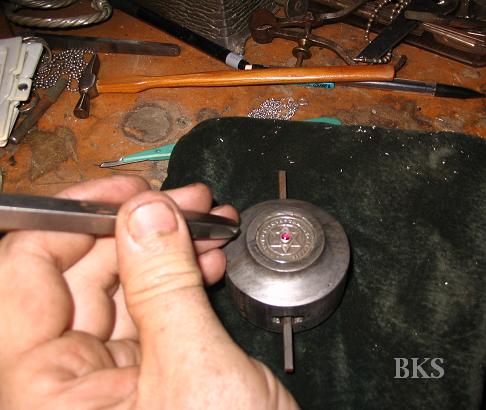
Here Kerry is using a burnishing tool to set the garnet into place.
Same step, different view.

"Job done!" Now it's time to put it all together.
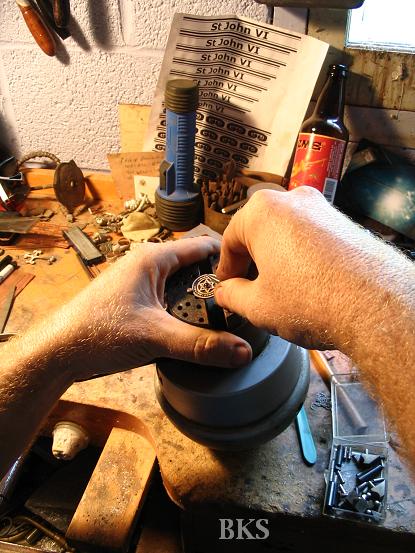
Here is the Pommel all etched up. Kerry is using a chasing tool to
push/hammer the
edge over the medallion to set it in place.
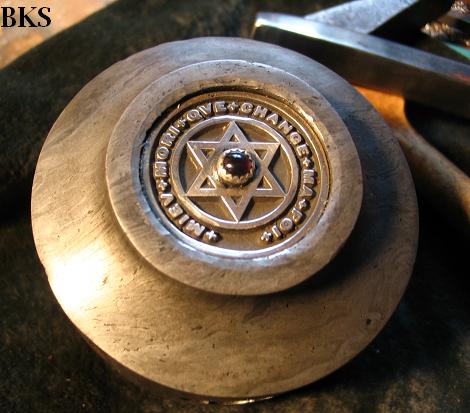
All done. Look how beautiful the pattern of the wrought turned out. YUM!
Back to the blade.
Here is the blade after HT and after we fixture tempered it.
I roughed the scale off with a fresh 120 grit.
Another view at the 120 step.
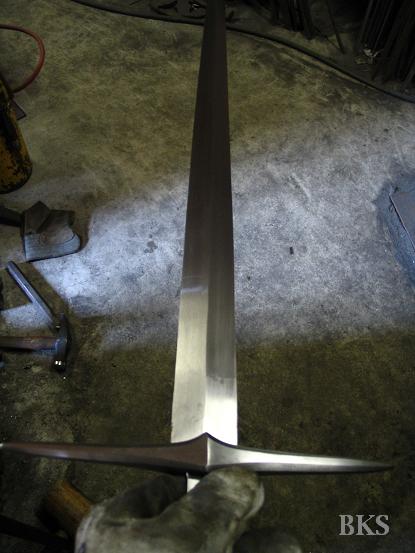
Here it is at 300 grit with the guard on.
Though the guard has not had it's ends turned down yet at this point.
If you look really close, you can make out two more surprises.
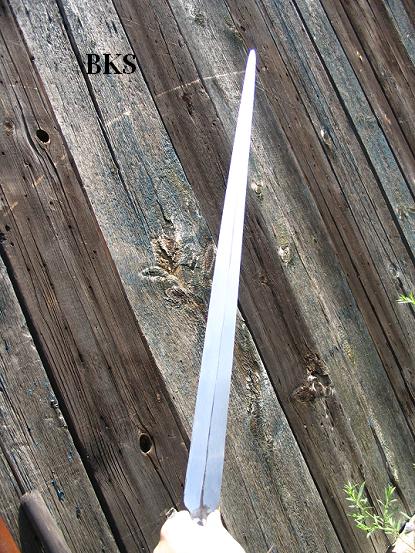
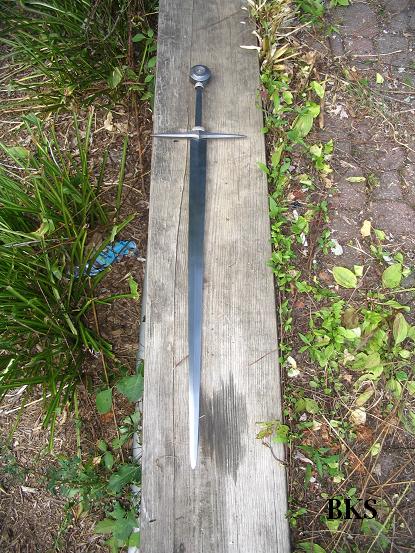
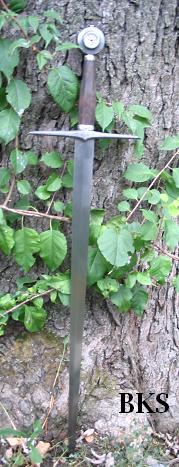
Here is a Mock up without the handle. The wood is still setting up.
The blade is not in it's final finish and the engraving still needs to be added
at this point. Even with it half assembled this thing feels like an original blade.
More like a razor. So thin and so sweet. I am tempted to set up a mat or two
and take a few swings, but I think Mike should have the honor of the first cuts.
Handle time!
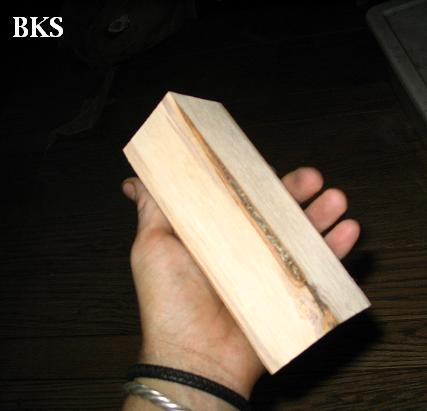
Here is the wood. Sanded down to a block.
Next is Kerry sanding the shape. Forgot to get pictures of the burn out.
Here he is fitting the top silver handle fitting (ring).
Next is the basic shape with both fittings(rings) on.
Here is the handle on the tang. This is not the final shape
of the handle but you all get the idea.
Kerry fine sanding some of the final shape in.
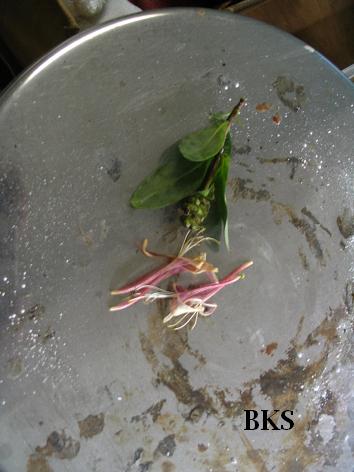
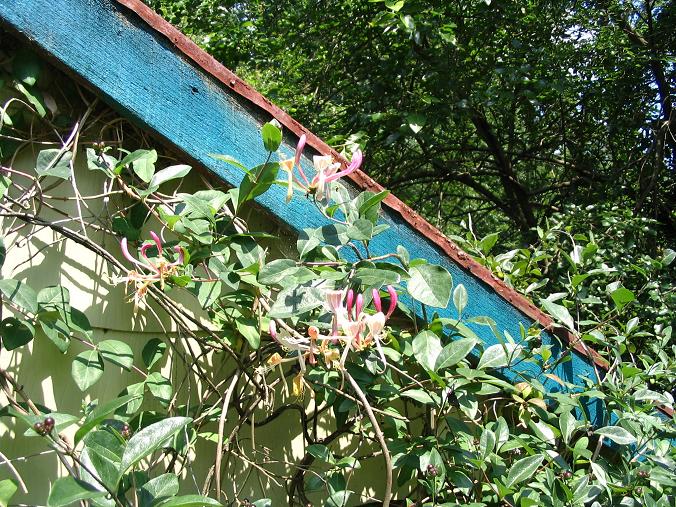
Here is the honeysuckle we are using.
Here is our solution and the handle.
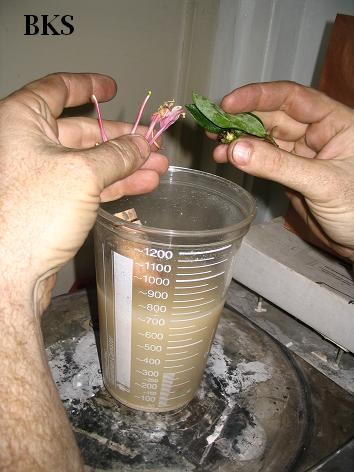
Getting ready to drop them in. We used the buds as well as the flowers.
The buds seemed to have more oils.
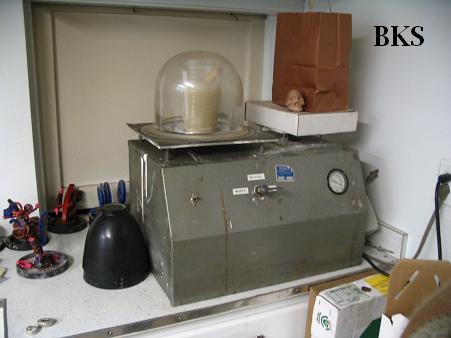
Here it is all under the vacuum bubble.
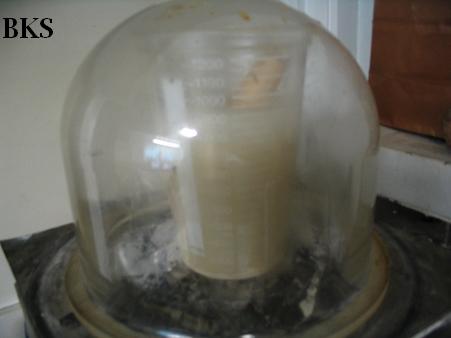
Another shot of it all under vacuum. You can make out the bubbles.
That is air escaping from the wood and replacing it with our solution.
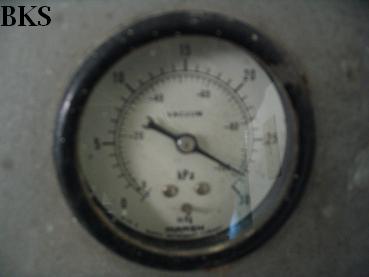
We were pulling about 27 inches of mercury for a couple hours.
Basically until all the bubbles stopped. We flipped the handle
a few times during the process.

Here you can see the red/purple pigment was completely
pulled from the honeysuckle pedals.
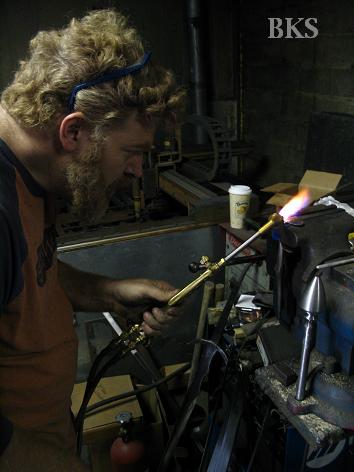
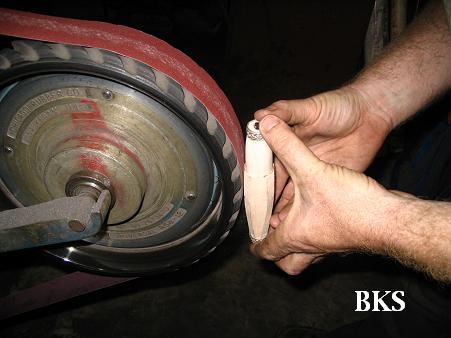
Here is Kerry using our torch to bend the ends of the guard over.
Here is a link to a small video of Kerry hammering the tips of the guard over.
Notice the little copper covers for the vice. Prevents scratches on the steel.

We went with a very subtle bend. I think most people bend this type of guard way to much.
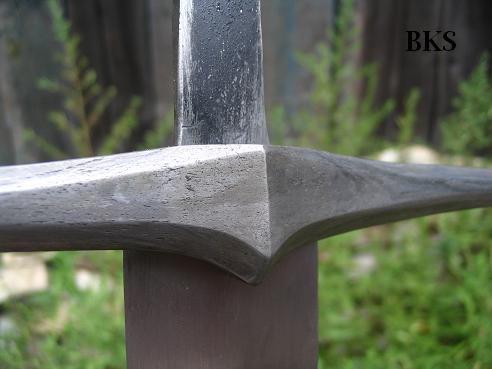
Nice close up of the wrought.
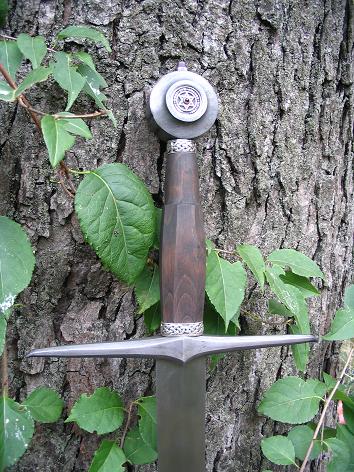
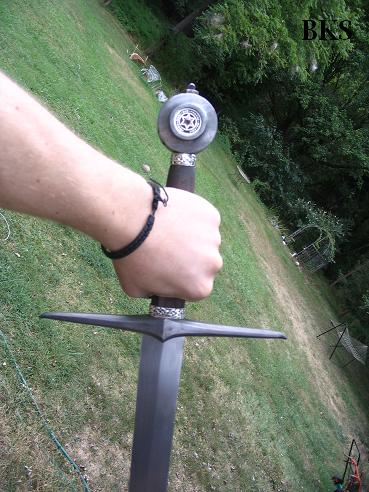
Almost done!
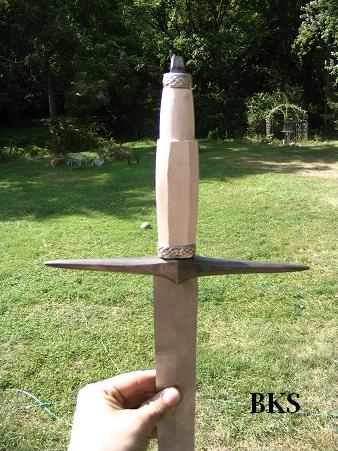
Here we are 95% finished. Still need the engraving and the custom tang nut.
Please see the Sword of Tristan for finished pictures and results.
Thank you for viewing.